Translate

Showing posts with label pink. Show all posts

Wednesday, March 16, 2016

Spring Is Starting--I'm Getting Used To It :) My Spring Look :)

Hi guys :)  Here is how I started my day :)


Yum :)


Also, here is my collection of...dare I say it?  Probably my favorite perfumes of all time--and they are dirt cheap!!!  I should do a perfume collection blog, as I own a whole bunch of perfumes from many price ranges, but thought I'd share these because I love them so much.  They are so wonderful!!!  I love to wear the violet one at bedtime, it has a really soothing, wonderful violet smell.  The old version of Rose and the old version of Oceane (maybe the new too--haven't tried it yet!  As you can see I have Oceane from back when the brand was owned by L'aromarine).  And then the others are just wonderful as they are--although wishing Outremer's newer version of "Rose" was sweeter like the old version.  It now is sharper and has a citrus note :-/  Anyone reading know of any nice, sweet, rose perfumes?  The sweetness of Fleurs reminds me of the old Rose, but doesn't satisfy that perfect rose scent craving that I need!!!  I love smelling like sweet flowers!

ONTO THE MAKEUP! :)


About The Makeup:

*Hourglass ethereal light is the one showed, which I used all over the high-points of my face GENEROUSLY, as ALWAYS (those darn powders are my favorite makeup item EVER).

*The La Rose de Versailles eyeliner and pink lip crayon were brought back to me from Japan by my boyfriend, wasn't that sweet... :)  Of course when he went over there, I told him he didn't have to get me anything but if he did, I'd want it to be makeup!

*The pink blush is from the ELF Blush Palette.  The contour shade is the only shade I used from the ELF Contour Palette...I love that contour.  It seriously lasts all day, more than a lot of my high-end contour powders can say.  Since the whole palette is only $6, yeah, I will continue buying the whole palette just to get that contour shade, although I hope they start selling it separately!

*For this photo, I tried to touch the brushes to the products that I used them with!! :)  That morphe eyebrush is the very best eyebrush I own (granted I own all elf, bh cosmetics, and sonia kashuk kit eyebrushes!!).  That eyeshadow quad by Napoleon saves my butt on days where I really don't have the time to do a full-on eyeshadow look.

*The one thing that I used that isn't pictured is a deluxe size sample of Anastasia Brow Wiz in Chocolate.  Wow, I am AWED by how well that stuff work on weeks where I haven't been regularly keeping my brows conditioned.  It was too tiny to see in the picture anyway!! :)

*The thing in the picture that I like the least is that Mario Badescu setting spray.  I now put it on if my face is feeling dry in the morning but I know I'm going to be washing my face soon (the case today, and why I was able to use such a heavy face cream [yu-be] with that tarte foundation, which for me is on the moisturizing side), because if I leave that rose spray on my face, it will get itchy.  Itchy faces are not fun and usually lead to either scratches or some sort of breakout!!  Really have to apply certain products to their own scenarios... Which was the case today.  I am usually an oil-slick!!

*---ON THAT NOTE: If you want a damn good hydrating/refreshing spray that also, weirdly enough, hydrates your eyes and soothes them (I have chronic dry eye and I don't like ruining my eye makeup with eye drops), try the Benefit Facial Hydrating Mist...It is seriously a godsend for me.  I don't even bother buying any other sprays for hydration anymore, unless of course it's an actual setting spray, which is a completely different thing.

*Pairing the Lancome Hypnose mascara with the Fleurs perfume really made me smile, as they smell a lot alike.  Very flowery, fresh, and lovely...Just one of those extra things that puts a pep in your step.

Pops of pink :)

My look :)  I look like I'm wearing a sheet, but it's a really long, flowy pink shirt that I got on clearance for $8 at Anthropologie back in January (back in January!  I can't believe how time flies.  Spring's here!).


Did anyone know that Dita Von Teese is actually a natural blonde?  I was doing a little research on her because I want to read her book, "My Beauty Mark," and when she was a teenager, she was blonde as blonde as blonde!!  The transformation is pretty cool.  She was always gorgeous, just in two different ways.  It's amazing what just a little makeup and some hair-dye can do.  If you want to change your personal style, you CAN do it!!  She's proof, for sure.

Back to the grindstone!  I have a TON of stuff to do today, and then I'm heading to dinner with a friend. :)


Hope everyone else is starting their spring marvelously!  Mine could be going a bit easier, there is a LOT TO DO and a lot of it is stuff that will change my life permanently if I don't get these tasks done, so I'm trying to keep calm, drink lots of tea, and push myself forward.  It hasn't always been easy!!  April is going to be a god-send!!!

Saturday, September 13, 2014

Earthy Barbie Makeup Tutorial :)

A couple days ago, I decided to do a makeup look that I call, “Earthy Barbie.”
 
Because let’s face it…Barbie may have been ALMOST perfect, but one thing was missing...


Ain’t one barbie that was ever played with had perfect hair.


I wanted to do something different from your typical dolly-look—something that popped somehow and created an edge, but brought the dolly-look down to earth in a way, so you’d have the girly cutesyness, but you’d also have something that kept barbie a bit real, a bit more rugged and up-front, whilst still upholding that girly-girl component. I LOVE contrast, I don’t usually like to do looks that are solidly based on one theme. It’s more fun to bring something new to the table that’s equally as exciting or moreso!! (or boring, if you don’t like makeup…in that case, get out of here!!! Haha just kidding…).

In this look, I did a smokey eye with some neutral tones, a bright pink lip, and of course, pink blush.  To open the eyes, I did not use any eyeliner.  Feel like you've got it?  Then unless you like seeing me embarrass myself trying to put my makeup on, you can feel free to be done reading!!!


(goofing around, trying to act like how I think a Barbie would act for the sake of this blog post :P  What I do for you people...HAHA just kidding.  It was actually pretty fun!!)

If you like the look, read on for the tutorial!! (or just to see me goofily try to put my makeup on :P ).  I personally would wear this makeup look...well, anywhere!

If you want a hair tutorial..... Here's the concensus of what I do:
Twist hair into a bun, wear in bun all day.  Take bun out, hair is curly and messy.  Shake it around, keep changing the part, don't brush it much and mess it up as much as possible (this will vary amongst hair types...with my hair, it takes little to no effort to mess up).
(FYI, this is not a hair blog.)


Step 1

(Read this whole paragraph before starting if you have sparse lashes and don't like false eyelashes!!).  First, put on your mascara.  The reason I think you should do this first is because you won't be putting any eyeliner on, so your eyeliner/eyeliner brush isn't going to mess up/tangle the lashes--and since that's out of the way, mascara fall-out can really mess up your foundation, as I'm sure you know.  Putting on mascara first eliminates the problem of cleaning up those black dots and ruining your foundation! :)  Got sparse lashes?  NO problem, apply some false eyelashes...If you have no false eyelashes (or just don't like them), you can use a thin layer of eyeliner, right at the base of your lashes before you put on the mascara, to at least give you some volume to compensate for the length!  Dolly-looks typically involve long eyelashes, but do whatever you are comfortable with.

Step 2

Put on a clean, freshly foundationed, concealed, set with powder, face.  I won't show you how I put on my foundation in this tutorial, as I think it's kind of boring to mention here and I'd like to elaborate more on my face routine when I do, and also, I don't like my current foundation (I use Revlon Colorstay 24 Hour in Ivory) and am in the process of switching.

Step 3

Now that THAT'S out of the way, it's time to get down to BIDNESS... YAY.
I decided to do the lips first :)  (A Little Note:  You can do your eyes first also.  I like to do eyes before blush because I think your blush brush and your blush can wipe away and cover any fall-out that may have occurred.  You could also do the eyes at the same time as you do the mascara (before foundation), eliminating any chance of fall-out ruining your makeup--I just did them after my foundation here as I already had my makeup on because it was the end of the day!!!)

Here you can see that I have my mascara and foundation on...and then my lips are quite stained from lipstain!!  I already tried scrubbing it off to no avail, but since I'd tried 3 different lipstains that day (different blog post), no dice!!!  So here is what I'm going to do.

Since I didn't have the shade of lipstick I wanted (a light, baby pink), and my lips were also stained, I opted to do the mixing option.  If you've already got a color that works for you and don't like messing around, then just put it on and skip this step!!!

First, get out concealer or white eyeliner.  If you are using white eyeliner, you need to put on a thicker layer for a lighter color now, because it's hard to go back and add white eyeliner after you've already applied lipstick.  I ended up using Glamoflauge concealer in the shade Ultra Light.  You can purchase it at Walmart for around 7 bucks.  Conceal a thin layer all over lips, till they are somewhat of a blanker canvas.
Alrighty, now that that is done, just add your lipstick/lip gloss.  I chose a random deep pink gloss that I am totally not recommending to you because it's a balmstain that stained my lips cherry red when I took the concealer off, but anyway, at the surface level the concealer lightened it to a baby pink :)  Add any translucent powder to set the color, then blot.  You could also use baby powder. :)

Step 4

Eyes.  This is actually pretty simple.  I only used three colors!!  I used a palette that was discontinued from ELF, but these are pretty general shades, so feel free to use whatever and experiment.  I think that the NYX Love In Paris eyeshadow palettes in Pardon My French and C'est La Vie would work well :)  There are SO many neutral palettes out there, all you need is a matte brown, an emerald green, and any highlight ranging from beige to gold (ooh, that could be really pretty with this) to white and you are good to go.


The shades I used are:
A deep emerald green with just a little sheen to it.
A matte yellow-toned poop brown with a small amount of gold glitter (what?  I don't know what else to call the shade...It is pretty though.  Heh heh :) ).
A pearly beige.
The matte brown defines the eye and creates some definition (since using all shimmer colors can take away from definition), the darkness of the emerald contours and brightens your eye-color, and the pearly beige highlights and brightens your eye.  You can interchange these three colors with other tones, but that was the logic for the shades I chose :)

1.  Cover the entire lid of the eye with the matte brown, from corner to corner, blending out into the brow-bone but not allowing the color to enter the brow-bone.  Put it on the inner corners of your eyes.  Line directly underneath the eye on the inner and outer corners like you would an eyeliner, making sure to blend out, but do not line underneath the middle of the eye.

(I promise my eyebrows don't look this messy in person...But if they did, SO WHAT :P )
2.  Take the emerald shade and put it on the outer corners of your eyes, blending into the lid and traveling the color into your crease.  Line the bottom center of your lid with the color, like you would an eyeliner, blending out into where you lined the eye with the matte-brown on each side.

3.  Take the pearly shade and put it all over the brow-bone, traveling to the the spot right around the inner-corners of the eyes where you put the matte brown.

Eyes are done. :)

Step 5

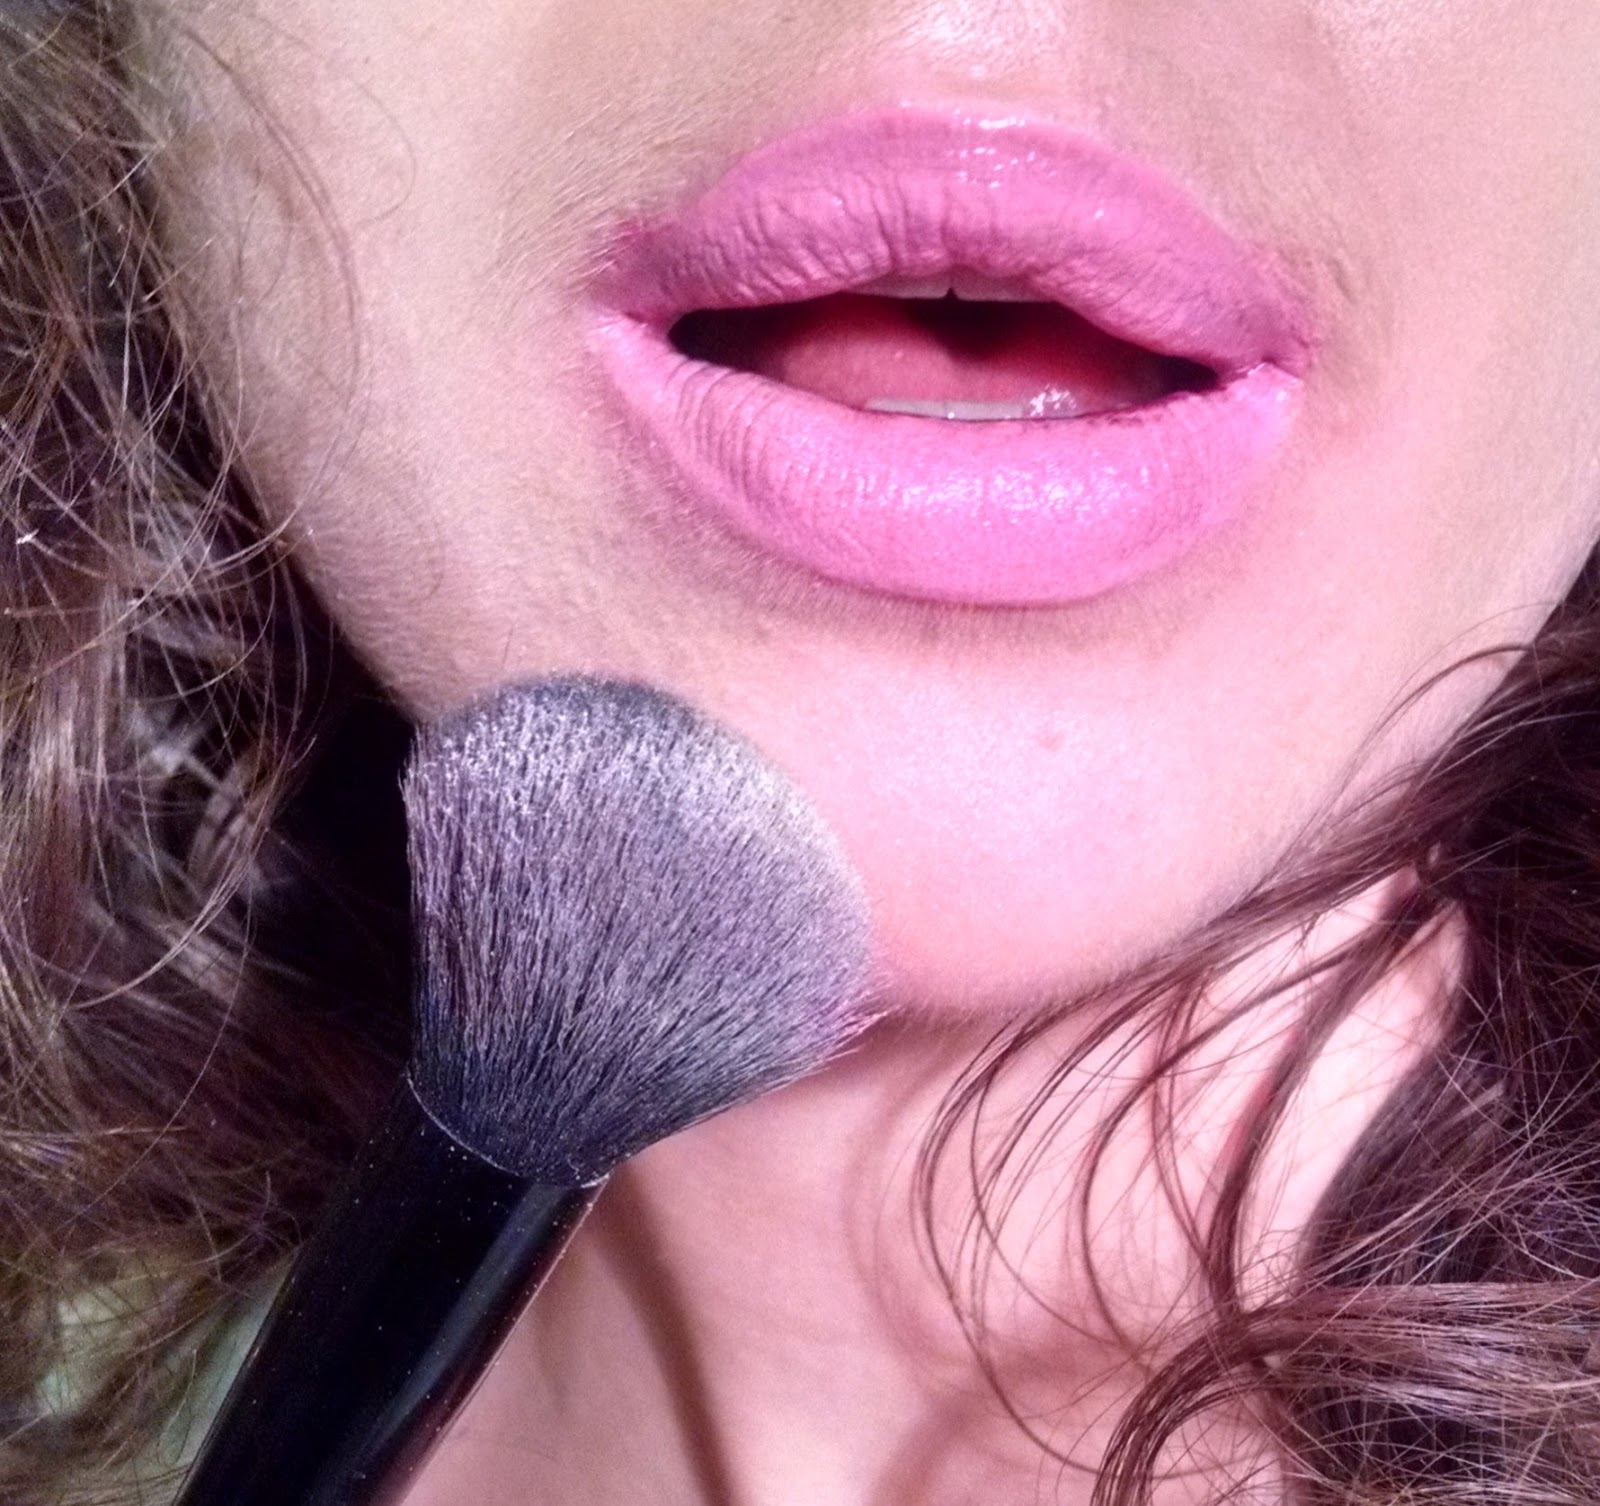
Now you just apply a baby pink blush to the apples of your cheeks, blending out across your cheekbones, to create that dolly-look.  Apply it pretty high up on the cheeks, I like to get it almost right under my eyes.  If you apply too low it can age you.  I also like to put a little blush on the tip of my nose for a little glow, but you don't have to do that!


And you are done!! :)  Shine on, Miss!!


(A real barbie has some JANKED UP hair!!!!!!!  We all know it.)


Hope that was fun!!  I understand it might not be for everyone, but for anyone girly and daring, I think it's a really fun, pretty way to express yourself!!  Of course HAHA, you do NOT have to go out in public with a messy, crazy mop of hair :)  I did that for the sake of the blog post, but I think messy in a pretty way would be cute with this look.  And not that I conform to seasonal makeup in the least, but it could also be a great Fall to Summer look!!  Most of all, I hope any tips I shared helped somebody!!  Or you at least laughed a little.  Take care!! :)