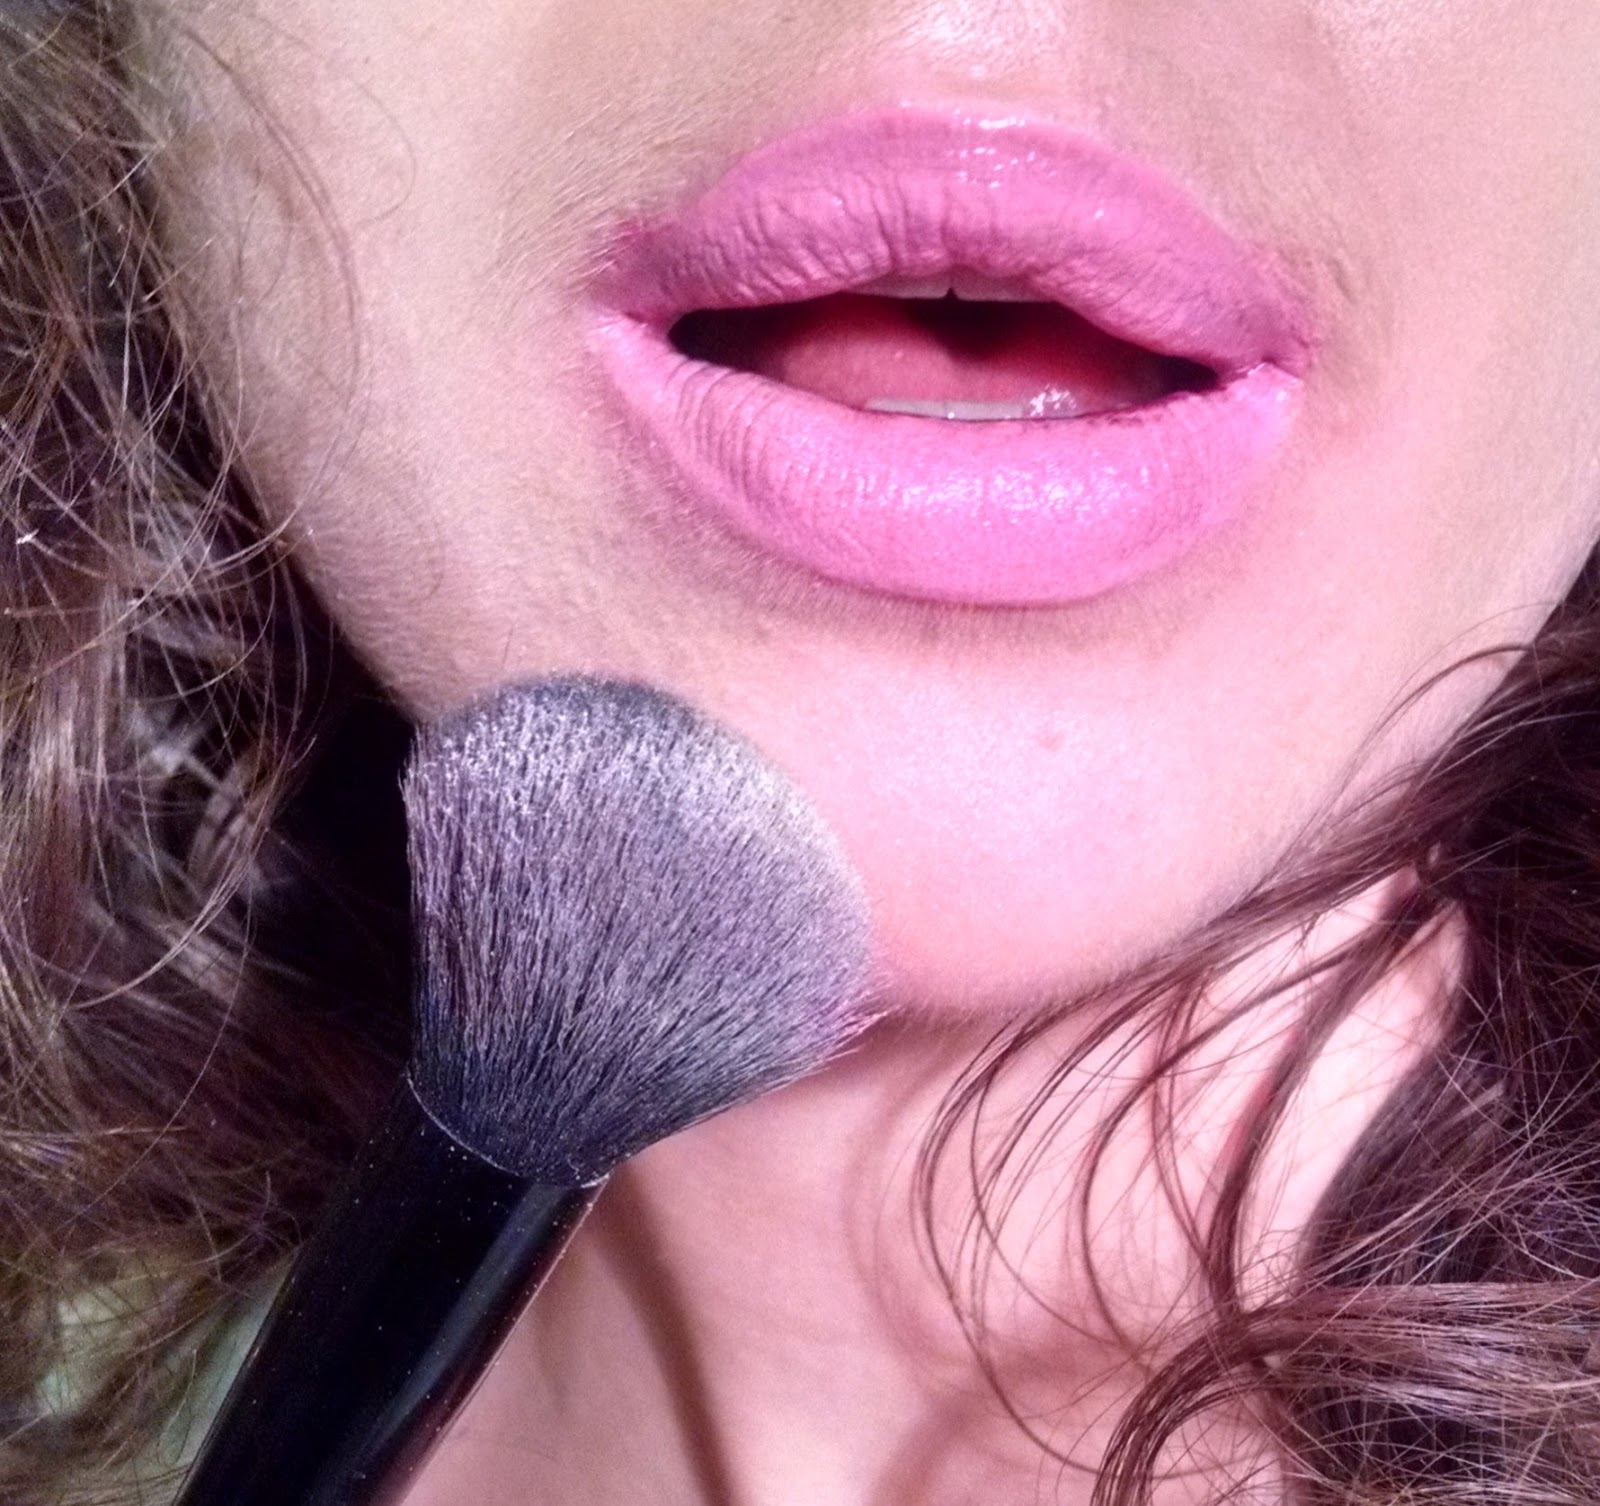
Me, wearing all of the products I put in my portable palette. :)--
I'm wearing every single product in the palette, all of the lip colors mixed together in different ratios, over a separate NYX lip liner called pinky beige.
Hi guys. Thankyou so much to anyone who is still reading in spite of my long hiatuses (hiati? Uh...How do you pluralize that? Lol.)
I have currently been living, essentially like a gypsy...I commute from where I currently live (in which, I have no internet, just a small phone data plan), and sometimes I have to stay at a midpoint in order to use said internet and to get to my job and have a little more time to relax (midpoint being my boyfriend's house). Plus, my sister visited and I was going back and forth an hour out of the way to visit her where she was staying. It has been kind of nutty. So, essentially what I am saying is, I've had little time and opportunity to blog, although many times I have wished I could!!
I'm finally enjoying a four day break, and I've reached another midpoint (my dad's place) :) So here I am. LET'S GET ON WITH THIS :) Are you ready?! Okay I am so excited!!! I hope you guys love this DIY as much as I do.
DIY Portable Palette :)
Scroll down to the bottom for the list of products/supplies I used.
This is a super easy little project to do. I'M TALKING AN AWFUL LOT HERE FOR SOMETHING SO SIMPLE. You can skip all of the words and look at the pictures if you like. They are pretty darn self-explanatory. However, I have written some extra fun ideas in the last few paragraphs, uses for the palette, and ways you can get creative :)
So obviously, living like the gypsy that I have been living like lately, I NEEDED something like this. I work at a makeup store, and my bag was getting FULL because I kept having to grab stuff that I needed and store it in my big work bag. It was getting out of control :)
I have had this L'oreal True Match Powder :) Truthfully, I'm not L'oreal's biggest fan due to their animal testing/business practices and such, but I got this for an amazing discount at my job. What is cool about this particular packaging, as rather than have one large compartment, in one snug space, this compact has two separate compartments. One side is the side with the powder, and the other side carries the mirror and fits a cotton pad/sponge.
Happy accident, I suppose, my powder tray was falling out of where it'd been glued in. So I easily pulled it out...and then I thought, wait a minute. This could easily be a makeup mixing palette. I wiped away the glue (I used Marcelle Cleansing Water--it was what I had on hand--I think isopropyl alcohol would be much better for this particular glue removal) with half of a makeup cotton pad, scrubbing and wiping until all of the glue was gone. Then I took the dry half of the cotton pad and dried the freshly cleaned, shiny inside of the compact (for lack of a word for that) :) I then hot glued the powder to the OTHER side of the compact--the side that includes the mirror.
And here is my lovely palette :) Well, maybe not LOVELY in that it is pretty to look at, but lovely in that it is useful ;)
The Portable Palette ;)


You can also fit other powders inside. Here, I've inserted an Estee Lauder double wear powder foundation pan in Ecru. This true match setting powder in N1 is the closest match to Ecru, almost exactly the same shade, the true match being just a hair or two pinker in tone. It fits perfectly in here!! :)

Estee Lauder Powder Foundation Pan in Ecru, inserted here to show what it looks like.
You can't fit a powder puff or sponge in here, at least none I have tried. Nothing is flat enough :) But in my opinion, brushes work FAR better than those anyway!!! I wouldn't trade a retractable brush for a powder puff or sponge. Nope. Wouldn't do it. I use this eco-tools one I got on amazon for around $6. There's plenty out there. I also use an elf retractable lip-brush, which cost me $1.50 with a coupon code. :) These cost me very little and they make everything easier, cleaner, and less messy in my makeup bag than I think sponges and puffs do.

My retractable brushes for my purse makeup bag.
You may also decorate this if you are feeling crafty and wanting it to be a little more beautiful. I personally am fine with it the way it is. Here I show you how you can remove the sticker and the glue. You simply peel off the sticker and start patting it over the left over glue spots, and the sticker will pull up all of the remaining glue. Easy trick. My true match powder is only a few weeks old, so I am not sure if this trick will work for older compacts. You might need another cotton pad and some isopropyl alcohol. You can use swarovski crystals, stickers, labels, or mod-podge...whatever. I would add crystals, except I think they would make this bulky. Maybe I will think of something pretty to decorate this with later, if I have time. If so I'll definitely post the new picture on here :)

How to remove the stuck on glue residue with the sticker itself.
This has literally made the weight of my purse makeup bag half as heavy...half of the products are gone. I was able to completely remove most of my lip products and just swatch them into the palette. :) I have here, three shades of Too Faced Melted Liquid Lipsticks, one lavender colored LA Girl Lip Glaze, and my favorite concealer I have ever tried, Physician's Formula RX in the Fair/Light shade, which I put in just to dab on with my finger for touch-ups. The problem with the concealer is it likes to ooze itself out of the tube even when you are not squeezing it...by putting it in this palette I have eliminated that problem!!!
You can also smush lipsticks in here. You can smush in concealer sticks. You don't have to be restricted to liquid products. Powders will be more difficult, but you can always glue powder pans where you feel they will fit, or if you use a different variation of palette, you can keep certain eyeshadows you really like that came inside the palette, and remove the other ones you don't like using a needle and dental floss :) (the needle prys up the pan, poke the floss and wedge it underneath with the needle and then floss it beneath the pan until it's released from the glue).
I'm so thrilled because it is also SO much easier to mix lip colors and control how much product I get on my lip brush. I've also found that when I apply with a lip brush, my application looks so much better and what I have applied lasts so much longer, disperses so much more evenly, and I use up less product as well.
Plus, at the makeup store I work at, we can't bring in products we have bought at the store most of the time. This pretty much eliminates that problem, at least with liquid products and setting powders, because I can simply dab a little of anything I need onto the palette and leave the full-size product at home. Plus I don't have to worry about losing those products!!! YAY. I just adore this. AND everything is all in one place. Going to make putting my makeup on quickly during lunch breaks and such a snap, and I can get the color I want quickly too!!
As you can see, I absolutely am in love with it!!!
I have been carrying it around, using it all day, and it is stored sideways in my bag. Because my swatches are small, they really haven't budged or mixed together. Your results may vary if you use something very watery/oily. With that in mind, you may want to make a portable palette out of something with separators, keeping the deepness of the separators in mind. The most liquidy thing I have put in this is the LA Girl Lip Glaze, and it just spread out a little bit, and now it has set and stayed in one small spot without budging. I like the layout of this True Match compact because I have all of my touch-up products in one place, but you may enjoy a different set-up :)
Hope you guys enjoy this too :) It is definitely a time-saver, a clutter-clearer, and a creativity-inducer. As I mentioned a little bit in the last paragraph, you can do this with so many other kinds of palettes. Not just this one, but you can also make at least lip/foundation/concealer/whatever palettes by removing eyeshadows from little drugstore eye palettes (I'm thinking Wet N' Wild--they have some new six pan white ones that would be great :) ). Then you'll have little separators in those ones as well :) You could even press powders you would like into empty pans you have and keep powders and liquids in the palette, if you feel inclined to.
I hope I have helped everyone. Yay!!! Just so thrilled, I truly think this has made my life a lot easier, and my makeup more creative and managable. You can add in and remove what you are using currently. All of your favorite colors and products in one place, not taking up bulk and there to mix together and play with. It is so much fun!! Like a grown up Polly Pocket!! :) At least for someone who loves makeup. And at the least, it will clear out your bag of some clutter and make it easier to find what you need.
Complete List of Products Used
LA Girl Glazed, Coy
Too Faced Melted Peony
Too Faced Melted Fuschia
Too Faced Melted Berry
Physicians Formula RX Concealer, Fair Light
L'oreal True Match Setting Powder, N1
ELF Lip Brush
Ecotools Retractable Kabuki Brush
Hot glue gun
Alcohol (or in my case cleansing water...I'd recommend alcohol over that!)
Cotton Pads

Me at the end of the day wearing all of the touch-up products, using computer screen light for lighting. Several true match powder touch-ups had been done through the day. I did not touch up the concealer--I more or less have it because it works wonderfully, and may need to touch it up at work when I'm sweating under fluorescent lighting, or apply it at my boyfriend's where I have no other makeup :) Not too shabby with those lip colors... I highly recommend mixing all of those!! The melted's last, and the LA girl gives it some much needed hydration without taking away from the longevity. I really love the type of purple this combo creates! :) Only did one touch-up with this lip-color.